Medium.com, the one-stop writing shop. No better arena exists where you can write, publish AND get readers from day one.

The only problem? The unwritten rules. The mysteries of Medium.com that you’re somehow supposed to know already. I’m about as observant as a hammerhead shark trying to look at its nose, so I completely missed these when I joined.
So for you, dear reader, I’m going to damn the internet gods and do the impossible: I’m writing down the unwritten rules. And if that displeases the powers above may they strike down my wifi and condemn me to dial-up internet forever more.
First things first, create an account and make sure you can get to the New Story page shown below:

Got it? Excellent. On with the rules.
Unwritten Rule #1 – Always Use Title Case for Headlines.
Titlecase.com is your new best friend. It will convert your headline to title case which the gods of Medium.com have declared is the one true headline style. Why did they choose it, you ask? Well, because it looks nice and it’s scannable compared to all caps or no caps.
If your headline isn’t in title case, Medium.com won’t push it in front of your followers.
Plus, most publications demand that you use title case or they won’t accept your pieces, so it’s definitely worth the time to get it right.
Unwritten Rule #2 – Always Add a Subtitle
The subtitle is something Medium.con looks for when deciding whether or not to push your article in front of readers. So you gotta have one.
Your subtitle is important. It should add intrigue and compel the reader to keep reading, so take your time and craft a good one.
Turning your text into a subtitle is easy. You type the under the title, highlight it, and press the little ‘T’. Voila! You’ve just made a subtitle.

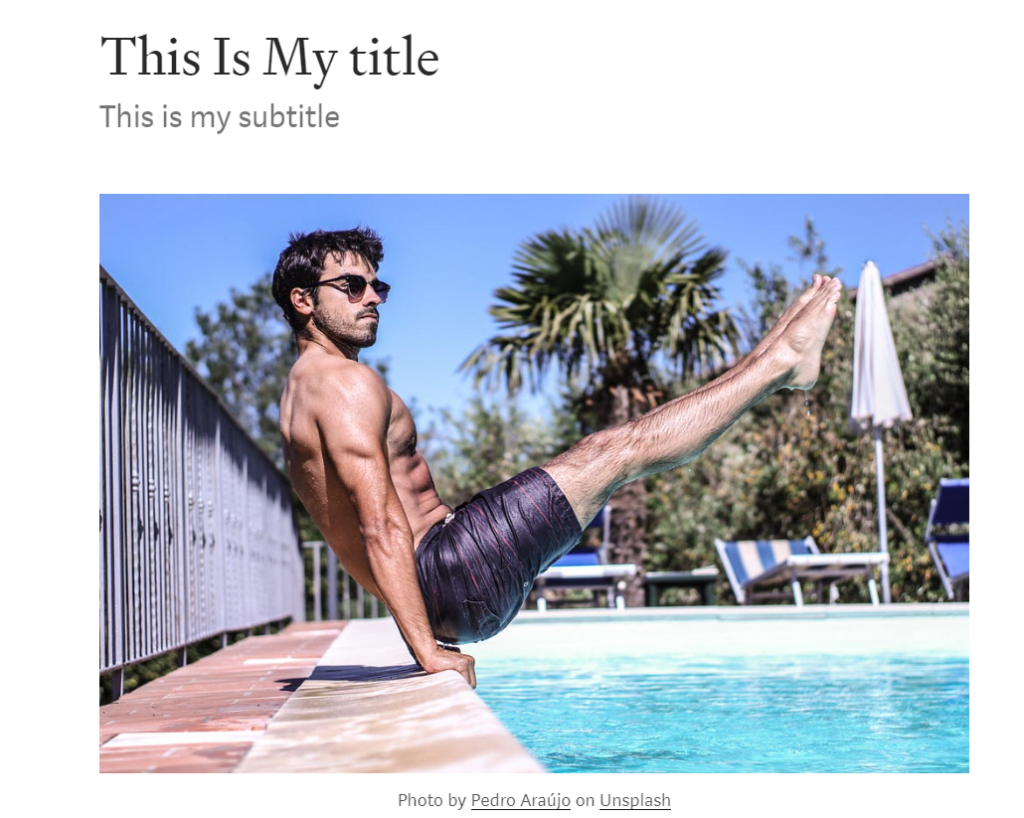
Unwritten Rule #3 – Add an Image Under Your Subtitle
The right image in your article will catch your readers’ attention. Then they’ll read your title, your subtitle, and they’ll be hooked.
That’s why you need a cool image. And again, Medium.com won’t push out your article to your followers without an image, so take the time to get this right.
MOST IMPORTANTLY: you have to credit the image source in its caption. This happens automatically if you use the built-in Unsplash images:

Title, Subtitle, Image.
Nailing these three things, in order, will have you battling to victory on Medium.com in no time.
However, I do have more insight into how to master Medium.com… read on!
Pro Tips for Elegant Article Layout
Use Subheadings
People will skim your articles. It’s inevitable. But if you break up your article with show-stopping subheadings, readers will stop in their tracks and read deeper. They also provide better structure and make your article easier to read.
Use Bullet points and Quotes
“I hate being quoted out of context because it…”
– Kieran MacRae, Writingchallenge.org
Okay, so quoting yourself is a bad idea… unless it’s a joke… but adding quotes that back up your points is a great weapon to have in your arsenal. They break up the page and lend your writing expertise, which will drive home your points to your reader.
Bullet points can also break up a page but keep them original. Nobody wants to read the same bullet points they’ve seen a hundred times.
Keep Paragraphs Short
When I say short, I mean it. Single sentences.
Short.
Big chunky paragraphs like this one are hard to read and don’t look great on mobile phones. If you’re writing essays in school, bigger paragraphs packed with information are what your teachers will be looking for. If you’re writing a book, then having a paragraph that’s half a page long is way more acceptable. But people reading online want clean pages with lots of white space, which means using a lot of paragraph breaks in them. Doesn’t this look awful?
However, don’t fall into the trap of having every paragraph be a single sentence.
Because that starts to look dumb.
Unprofessional even.
See?
It’s not good.
So I use the Rule of 3 when it comes to paragraphs: never use more than 3 single-line paragraphs in a row and no paragraph should be longer than 3 lines.
Pre Publishing Additions for Post Perfection
I have two last things for you to do before you hit publish on your next article.
Add a Call to Action at the Bottom of the Article
Entrepreneur of the people, Pat Flynn, once complained to a friend he wasn’t getting comments on his blog posts. His friend asked: ‘Do you ask for comments in your blog posts?”
He did not.
Lo and behold, asking “Let me know what you think in the comments below” at the end of his article led to people letting him know what they thought in the comments below. It’s that simple. If you have an action you want your readers to take, you have to ask them to take it:
- Clap this article.
- Follow my granny on Twitter.
- Interested in being a cult leader? Email me.
If you don’t ask, you don’t get.
Take Advantage of Your Tag
When I began battling in the arena of Medium.com, I didn’t use all 5 tags. I thought tags were added extras and if I could only come up with two that would work, I just went with two. Big mistake!
By putting a relevant tag, your article is shown to the people interested in that tag. So use all 5 tags to maximise who gets to read it.
Which tags to pick, you ask? When you type into the tag box you get suggestions with a number beside each one.

The number shows you how many articles are published under that tag. Over 50k is a popular tag while under 1k is more niche, and both have their place.
A mix of popular and niche tags is the way to go and they should all relate to your specific article. As a rule I avoid tags with less than 1k articles, unless it’s super relevant to the article.
Pro tip: Find an article similar to yours and scroll to the bottom to see what tags the author has used. You don’t have to copy them, but you can understand what tags are relevant and how other people use them.
And you’re ready to go my friend. Good luck with your writing and feel free to email me at kieran@writingchallenge.org if you have any questions or comments – I’d love to hear from you!
Leave a Reply